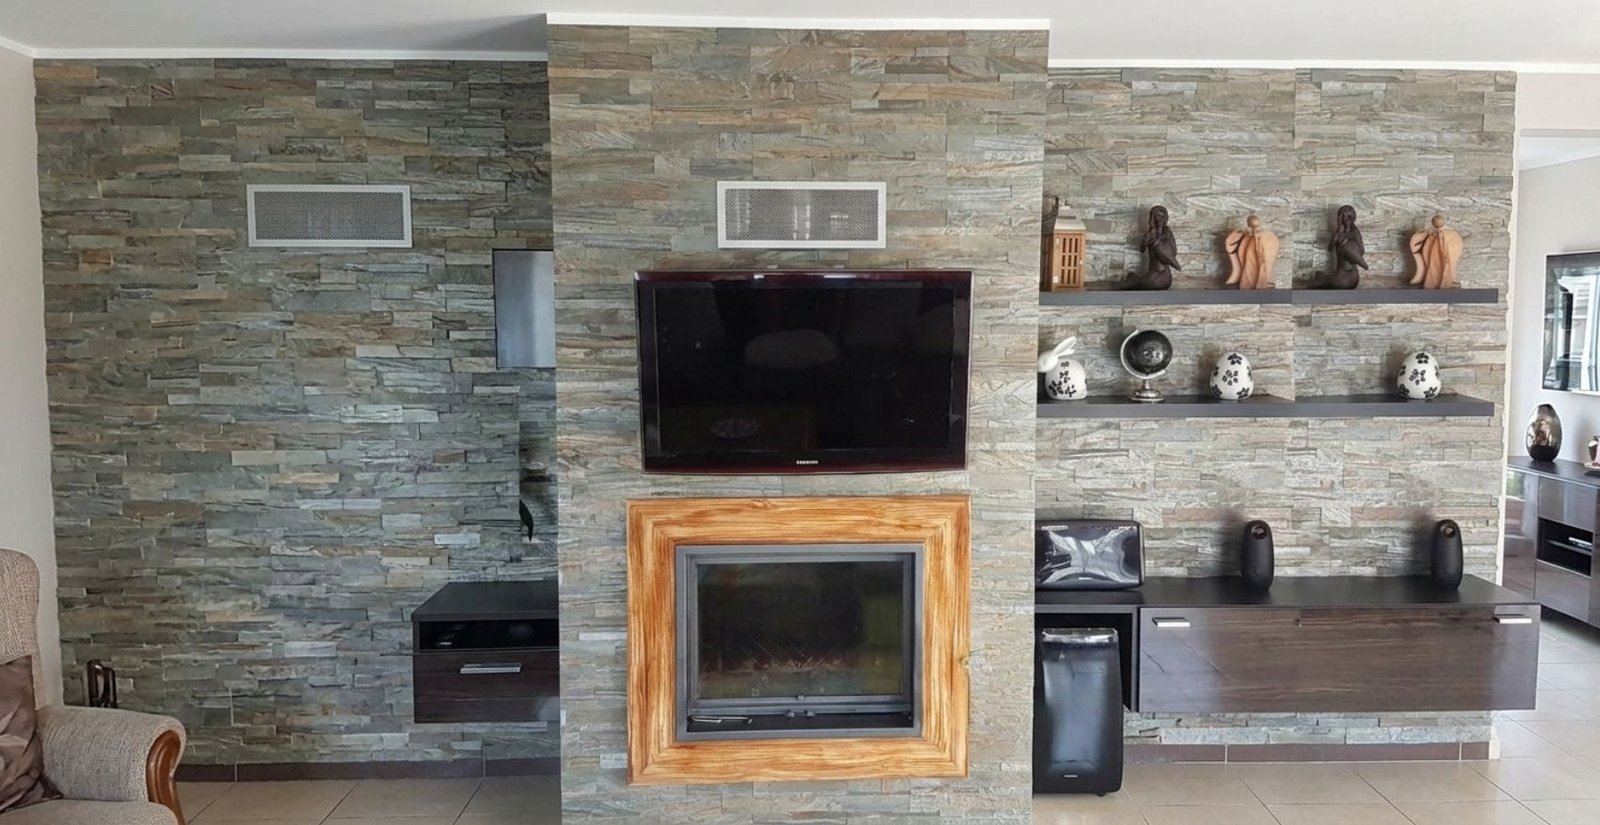
Installing 3D stone peel and stick panels is a relatively straightforward process that can add texture and depth to your walls without the need for messy adhesives or specialized tools. Here's a detailed guide to help you through the installation process:
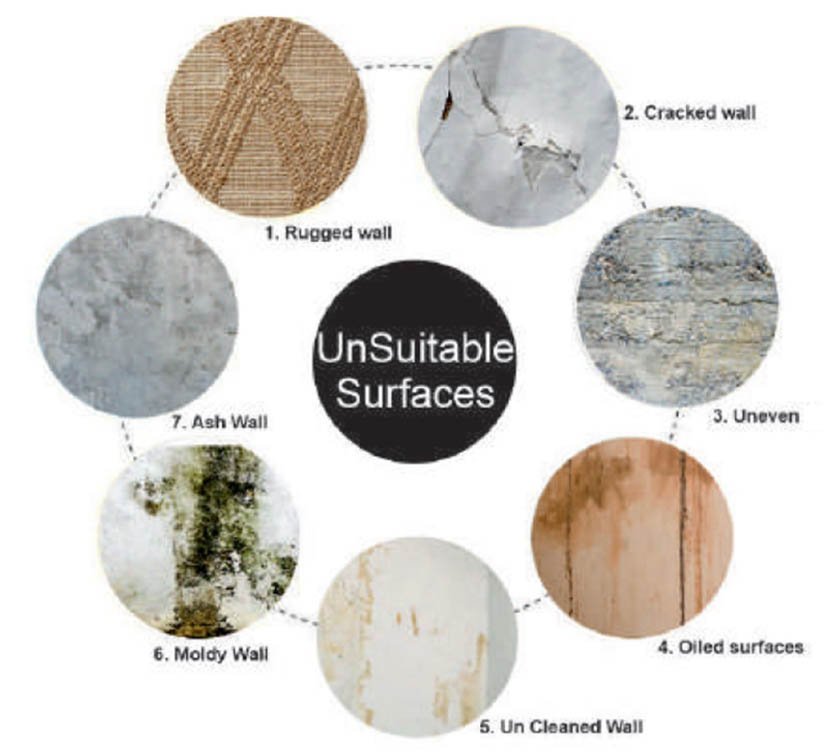
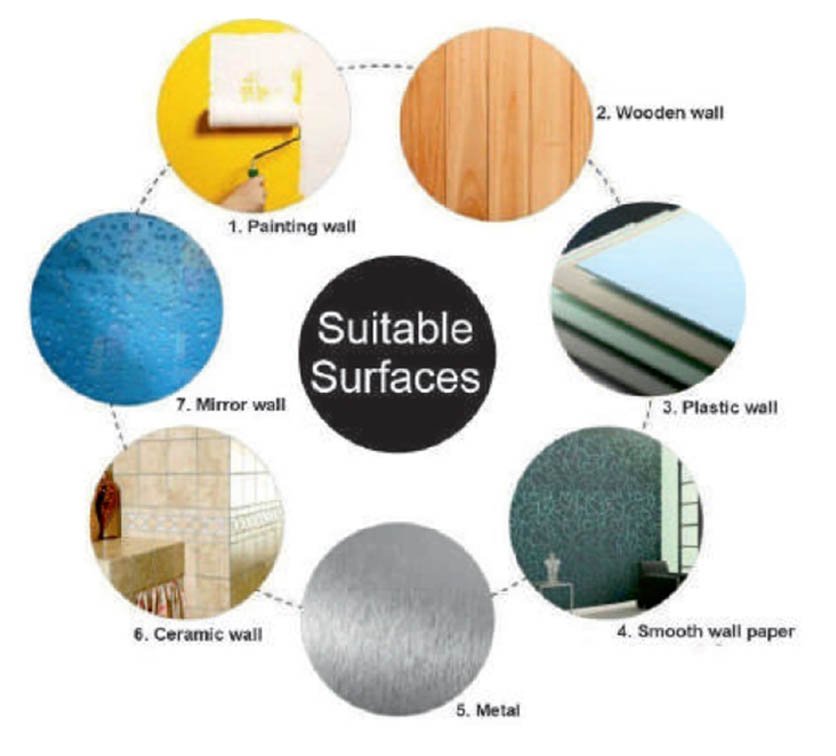
Surface Preparation: Ensure that the wall surface is clean,
smooth,
dry, and free from dust, grease, and other contaminants. If your
wall has any imperfections, it's a good idea to address them before
installing the panels.
Acclimate Panels: Let the peel and stick panels acclimate to
the
room's temperature for at least 48 hours before installation. This
helps the panels adjust to the environment and prevent issues
later.
Measure and Plan: Measure the area where you want to install
the
panels. Calculate the number of panels you'll need by dividing the
total area by the size of each panel. Plan the layout to avoid small
or narrow pieces at the edges and corners
Start from the Bottom: It's recommended to start installing
the
panels from the bottom and work your way up. This ensures that the
weight of the panels doesn't cause them to detach
prematurely.
Level Line: Use a level and a pencil to draw a straight and
level
horizontal line where you want the bottom of the first panel to be.
This will serve as your guide to ensure the panels are installed
evenly.
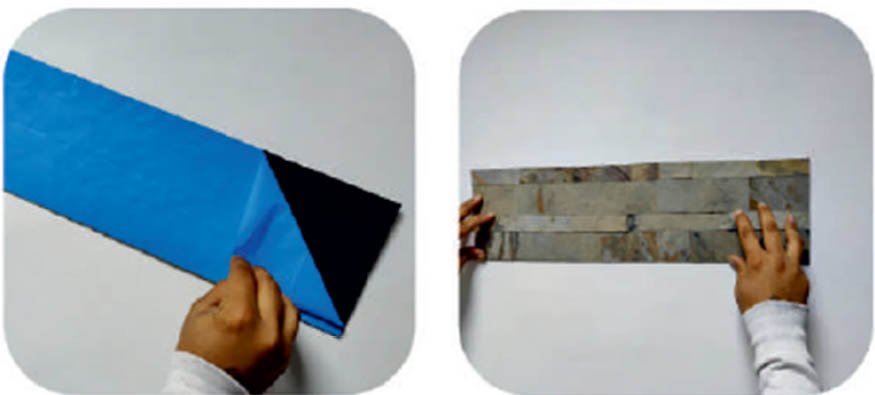
Peel the Backing: Gently peel back a few inches of the
backing paper
from the top of the first panel. Avoid touching the adhesive side as
much as possible to maintain its stickiness.
Align and Press: Align the top edge of the panel with the
horizontal
guide line you drew. Once aligned, press the exposed adhesive
section onto the wall. Apply firm and even pressure to ensure good
adhesion. Slowly peel off the rest of the backing paper while
pressing the panel to the wall.
Continue Installing Panels: Align the next panel with the
first,
ensuring a tight fit without overlapping or gaps. Use a level to
make sure each panel is straight and level before fully pressing it
to the wall.
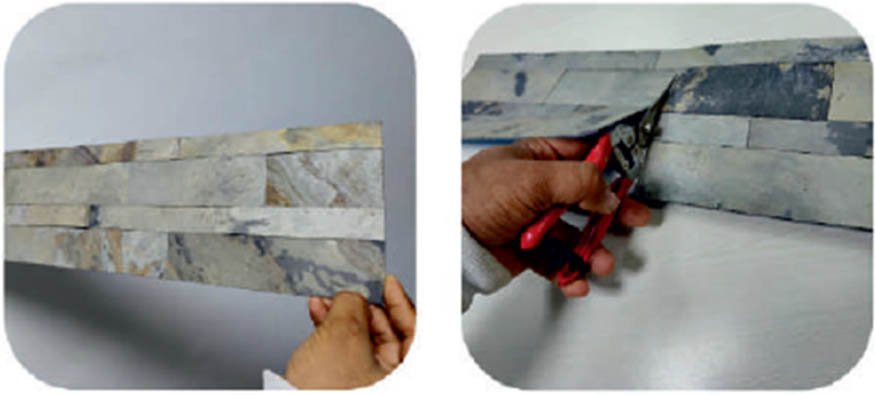
Trimming: Use a utility knife or scissors to trim panels as
needed
to fit around corners, outlets, and other obstacles. Measure and
mark the areas to be trimmed, then cut along the lines
carefully.
Overlap and Pattern Matching: Depending on the design of the
panels,
you might need to overlap certain edges to create a seamless
appearance. Follow the manufacturer's instructions for proper
overlap and pattern matching.
Finishing Touches: Once all panels are installed, go over the
entire
surface, applying pressure to ensure strong adhesion. Use a soft
cloth or sponge to gently clean the surface and remove any dust or
residue.