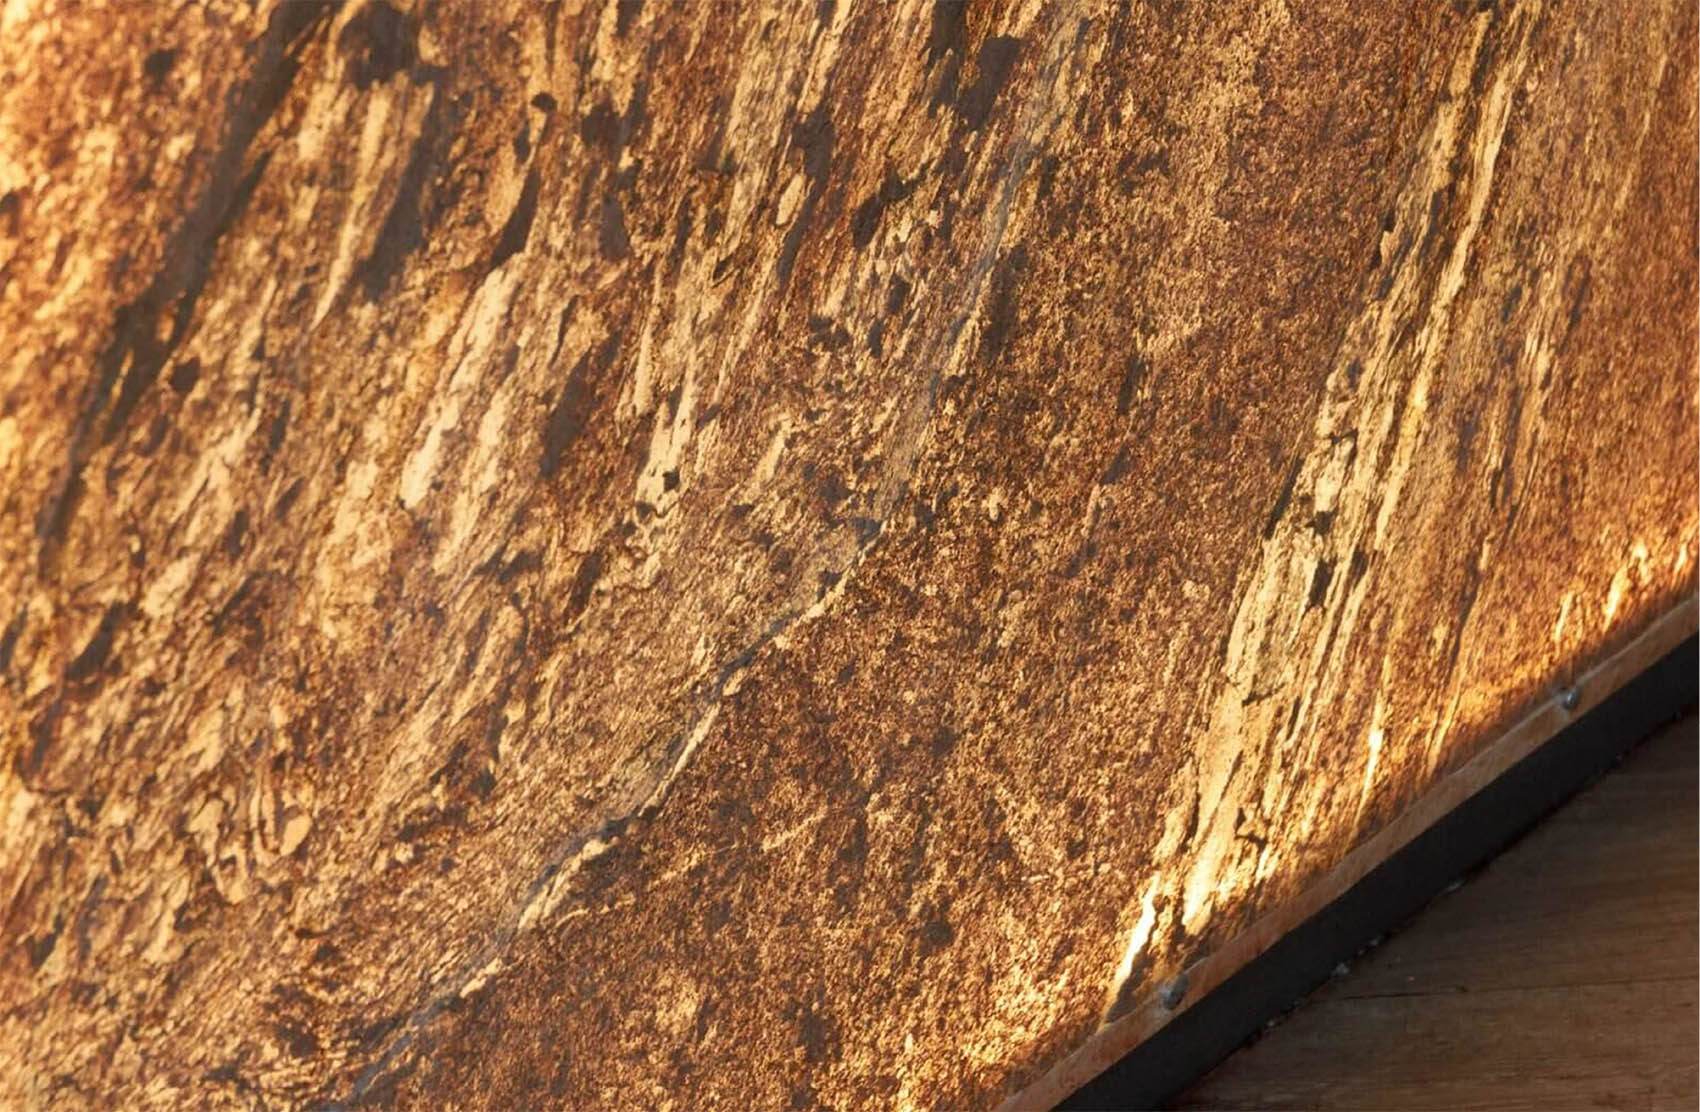
Welcome to the world of captivating elegance and innovation with our Translucent Stone Veneer Sheets. These unique sheets combine the beauty of natural stone with the ethereal quality of translucency, creating mesmerizing visual effects when backlit. Whether you're a seasoned professional or a DIY enthusiast, this installation guide will help you achieve a flawless installation that showcases the stunning interplay of light and stone.
Ensure that the surface you'll be installing the translucent stone veneer on is clean, dry, and smooth. Measure and mark the area where you intend to install the veneer sheets. Prepare your backlighting system according to the manufacturer's instructions.
Mix the transparent epoxy adhesive as per the manufacturer's guidelines. Apply a thin, even layer of adhesive onto the backside of the translucent stone veneer sheet using a trowel or spatula. Make sure to cover the entire surface evenly.
Carefully place the adhesive-coated side of the veneer sheet onto the installation surface, ensuring proper alignment. Gently press the sheet onto the surface to create a strong bond between the adhesive and the substrate.
Use a rubber roller to gently press and smooth the veneer sheet onto the surface. This will help eliminate air bubbles and ensure proper adhesion. Use a level to ensure that the sheet is straight and properly aligned.
Use a straight edge or metal ruler along with a utility knife to trim any excess material along the edges of the sheet for a clean finish.
If using LED panels or strips, follow the manufacturer's instructions to install the backlighting system behind the translucent stone veneer sheets. Ensure even distribution of light.
Apply a bead of silicone sealant around the edges of the veneer sheet to create a secure seal and prevent moisture infiltration.
Clean the surface of the veneer sheet using a soft cloth and isopropyl alcohol to remove any residue or smudges. Turn on the backlighting system to enjoy the stunning visual effects of the translucent stone veneer.